
More human than human: Raspberry Pi Arcade
LONG-TIME CREATOR, FIRST-TIME BUILDER
I have a massive OneNote filled with one-off projects of things that I’ve wanted to do or mediums that I’ve wanted to try. One of those things that has been on my list forever has been building a Raspberry Pi arcade. It was something I had seen before on the internet and something I’ve thought about since Raspberry Pi first came out. Now that I own my own home, we’ve amassed quite the collection of power tools, plywood, etc. Not to mention I finally have the space to put an arcade cabinet. After a night hanging with my friend Fernando and playing the new Gears of War, we committed to doing this project together.
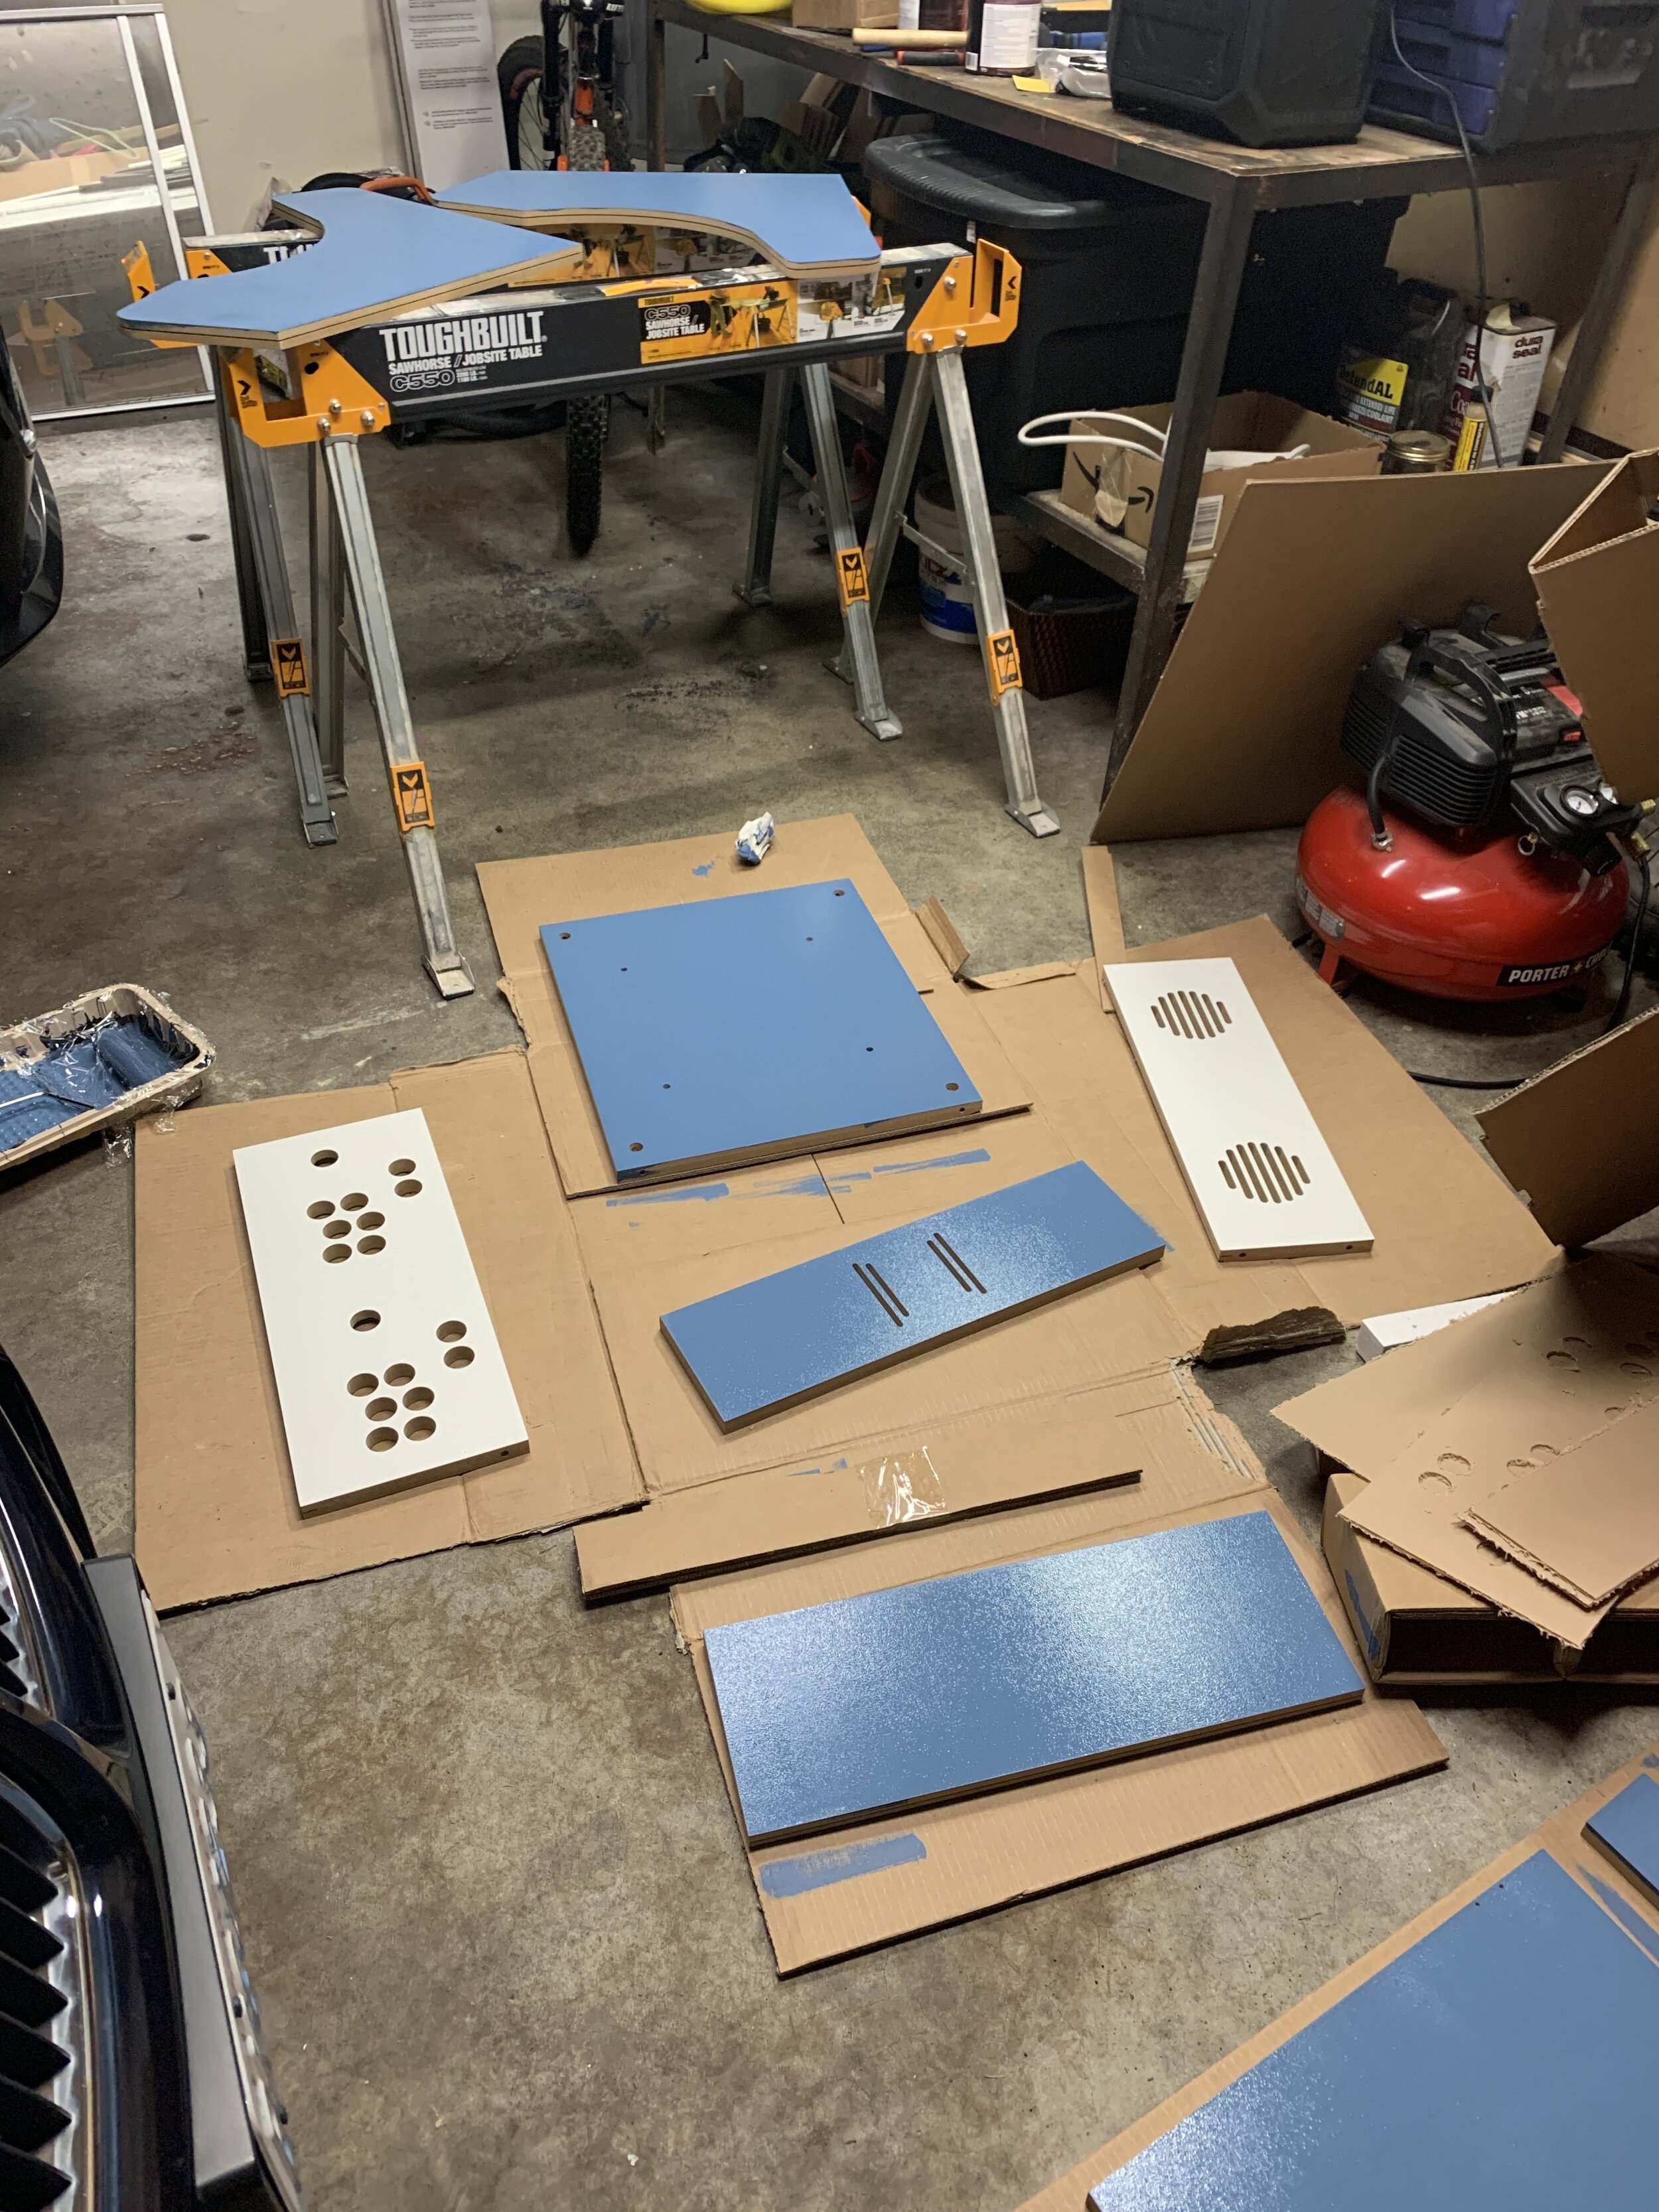
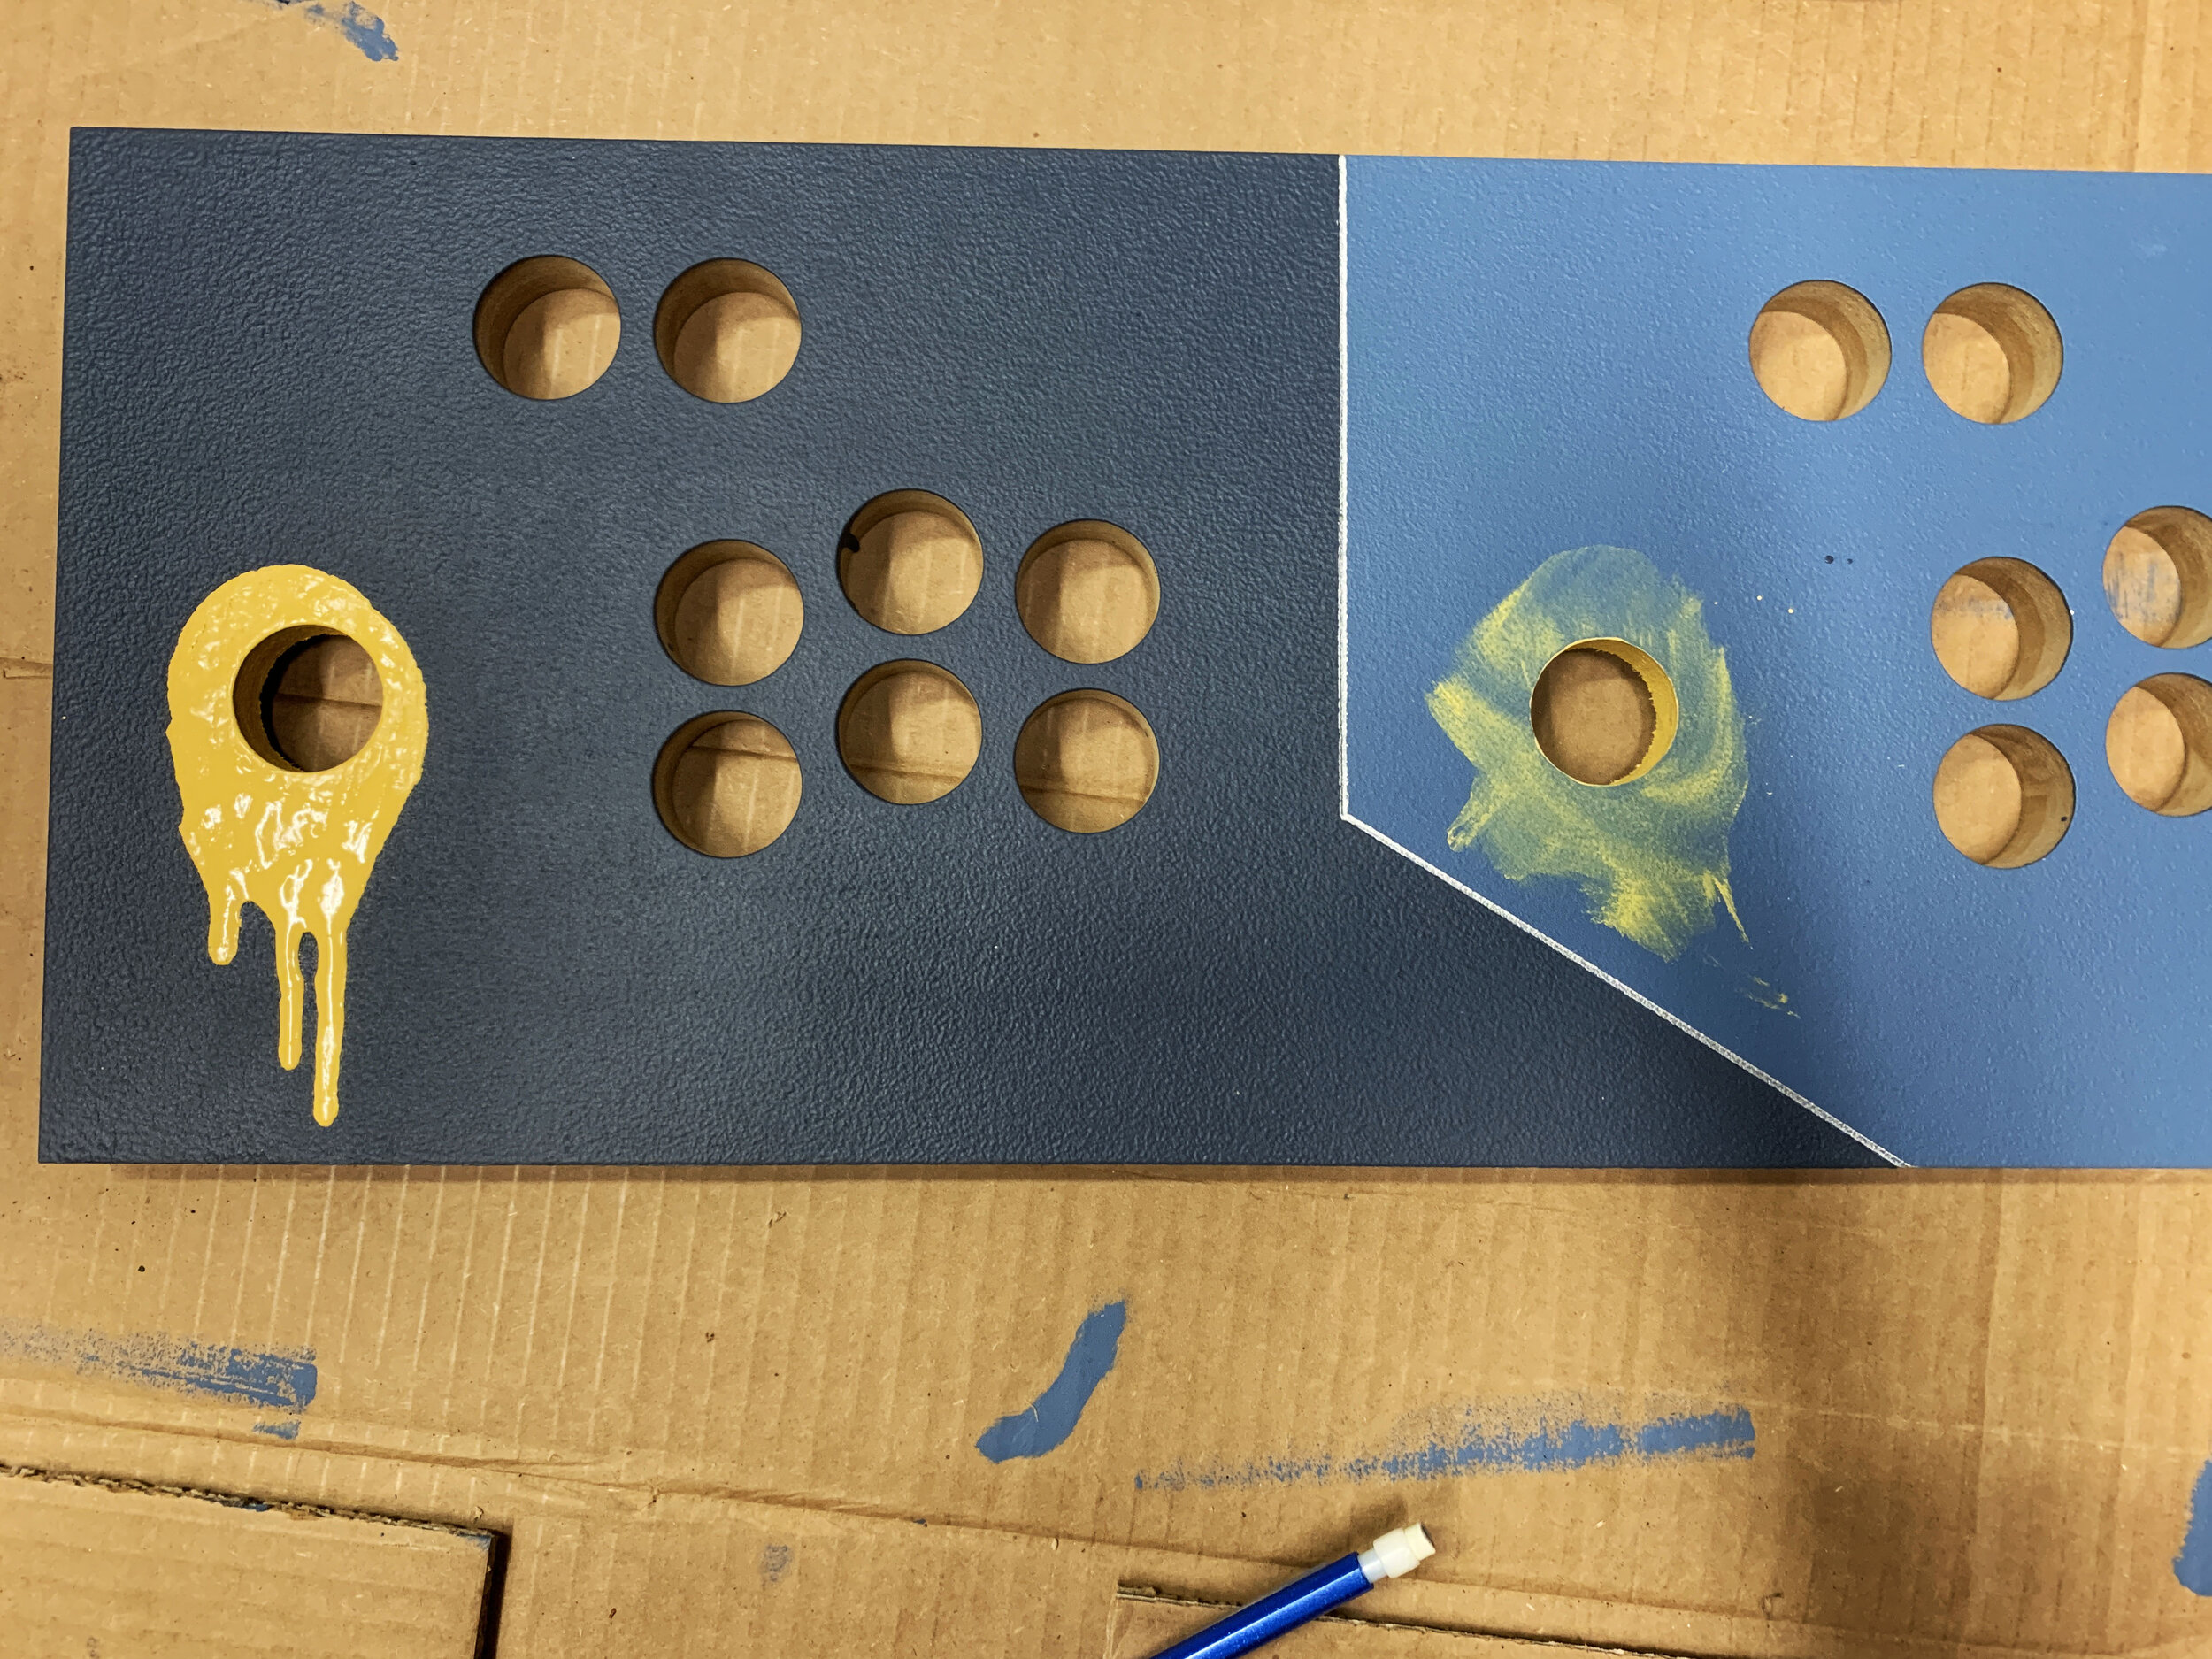
PAINTING THE PIECES
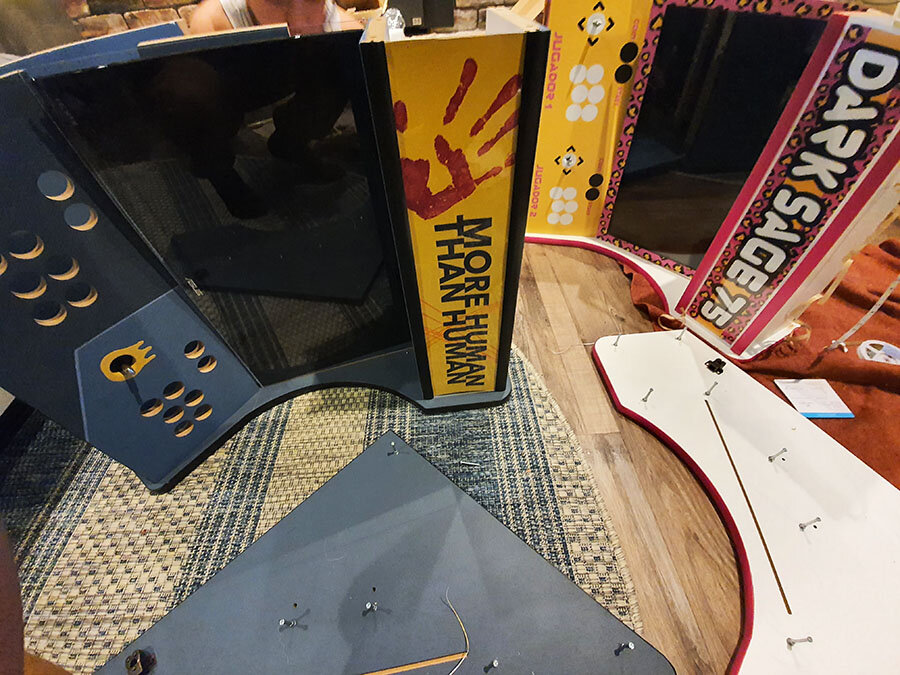
Raspberry Pi has become pretty powerful and much more sophisticated since it first came out. Along with this, building arcade units with vintage games using RP has also become pretty popular. There’s a plethora of kits out there that didn’t exist before that we could leverage, which would make things much easier. After a lot of price comparison between kits on Etsy, we decided that the most cost-efficient and time-efficient thing would be to buy a DIY kit for a bartop arcade cabinet from Game Room Solutions, which had a large number of positive reviews and detailed videos for installation. While Fernando got a vinyl wrap made, I decided to go with a more manual approach and paint the pieces myself.
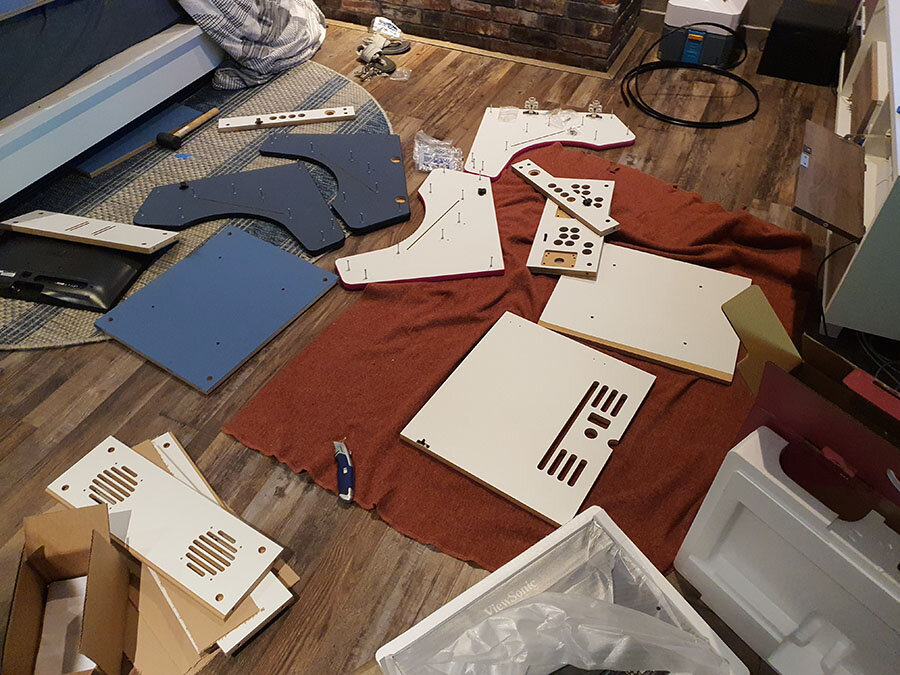
IT’S JUST LIKE A PUZZLE… RIGHT?
The tutorial video made it seem like it would be a quick couple hours to get the body of the arcade cabinet together… boy, were we wrong. It took us almost the entirety of the day to fit the cabinet together, ensuring that things were lining up correctly and that they were level. There were a few oddities, but overall it was like a masochistic IKEA project. We made an absolute mess of the den, but eventually got the body together with our monitors fitted pretty nicely.
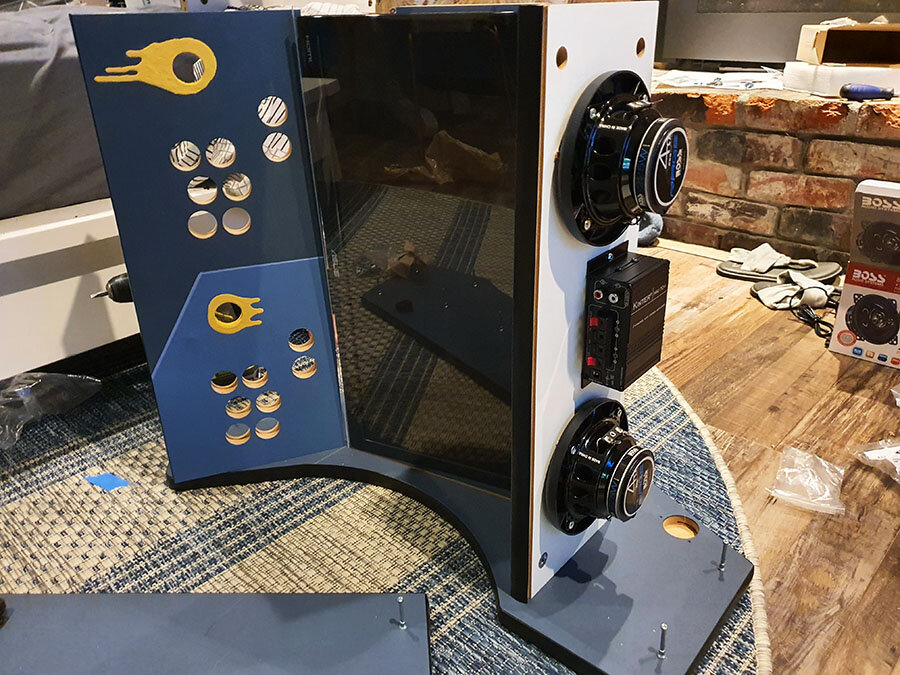
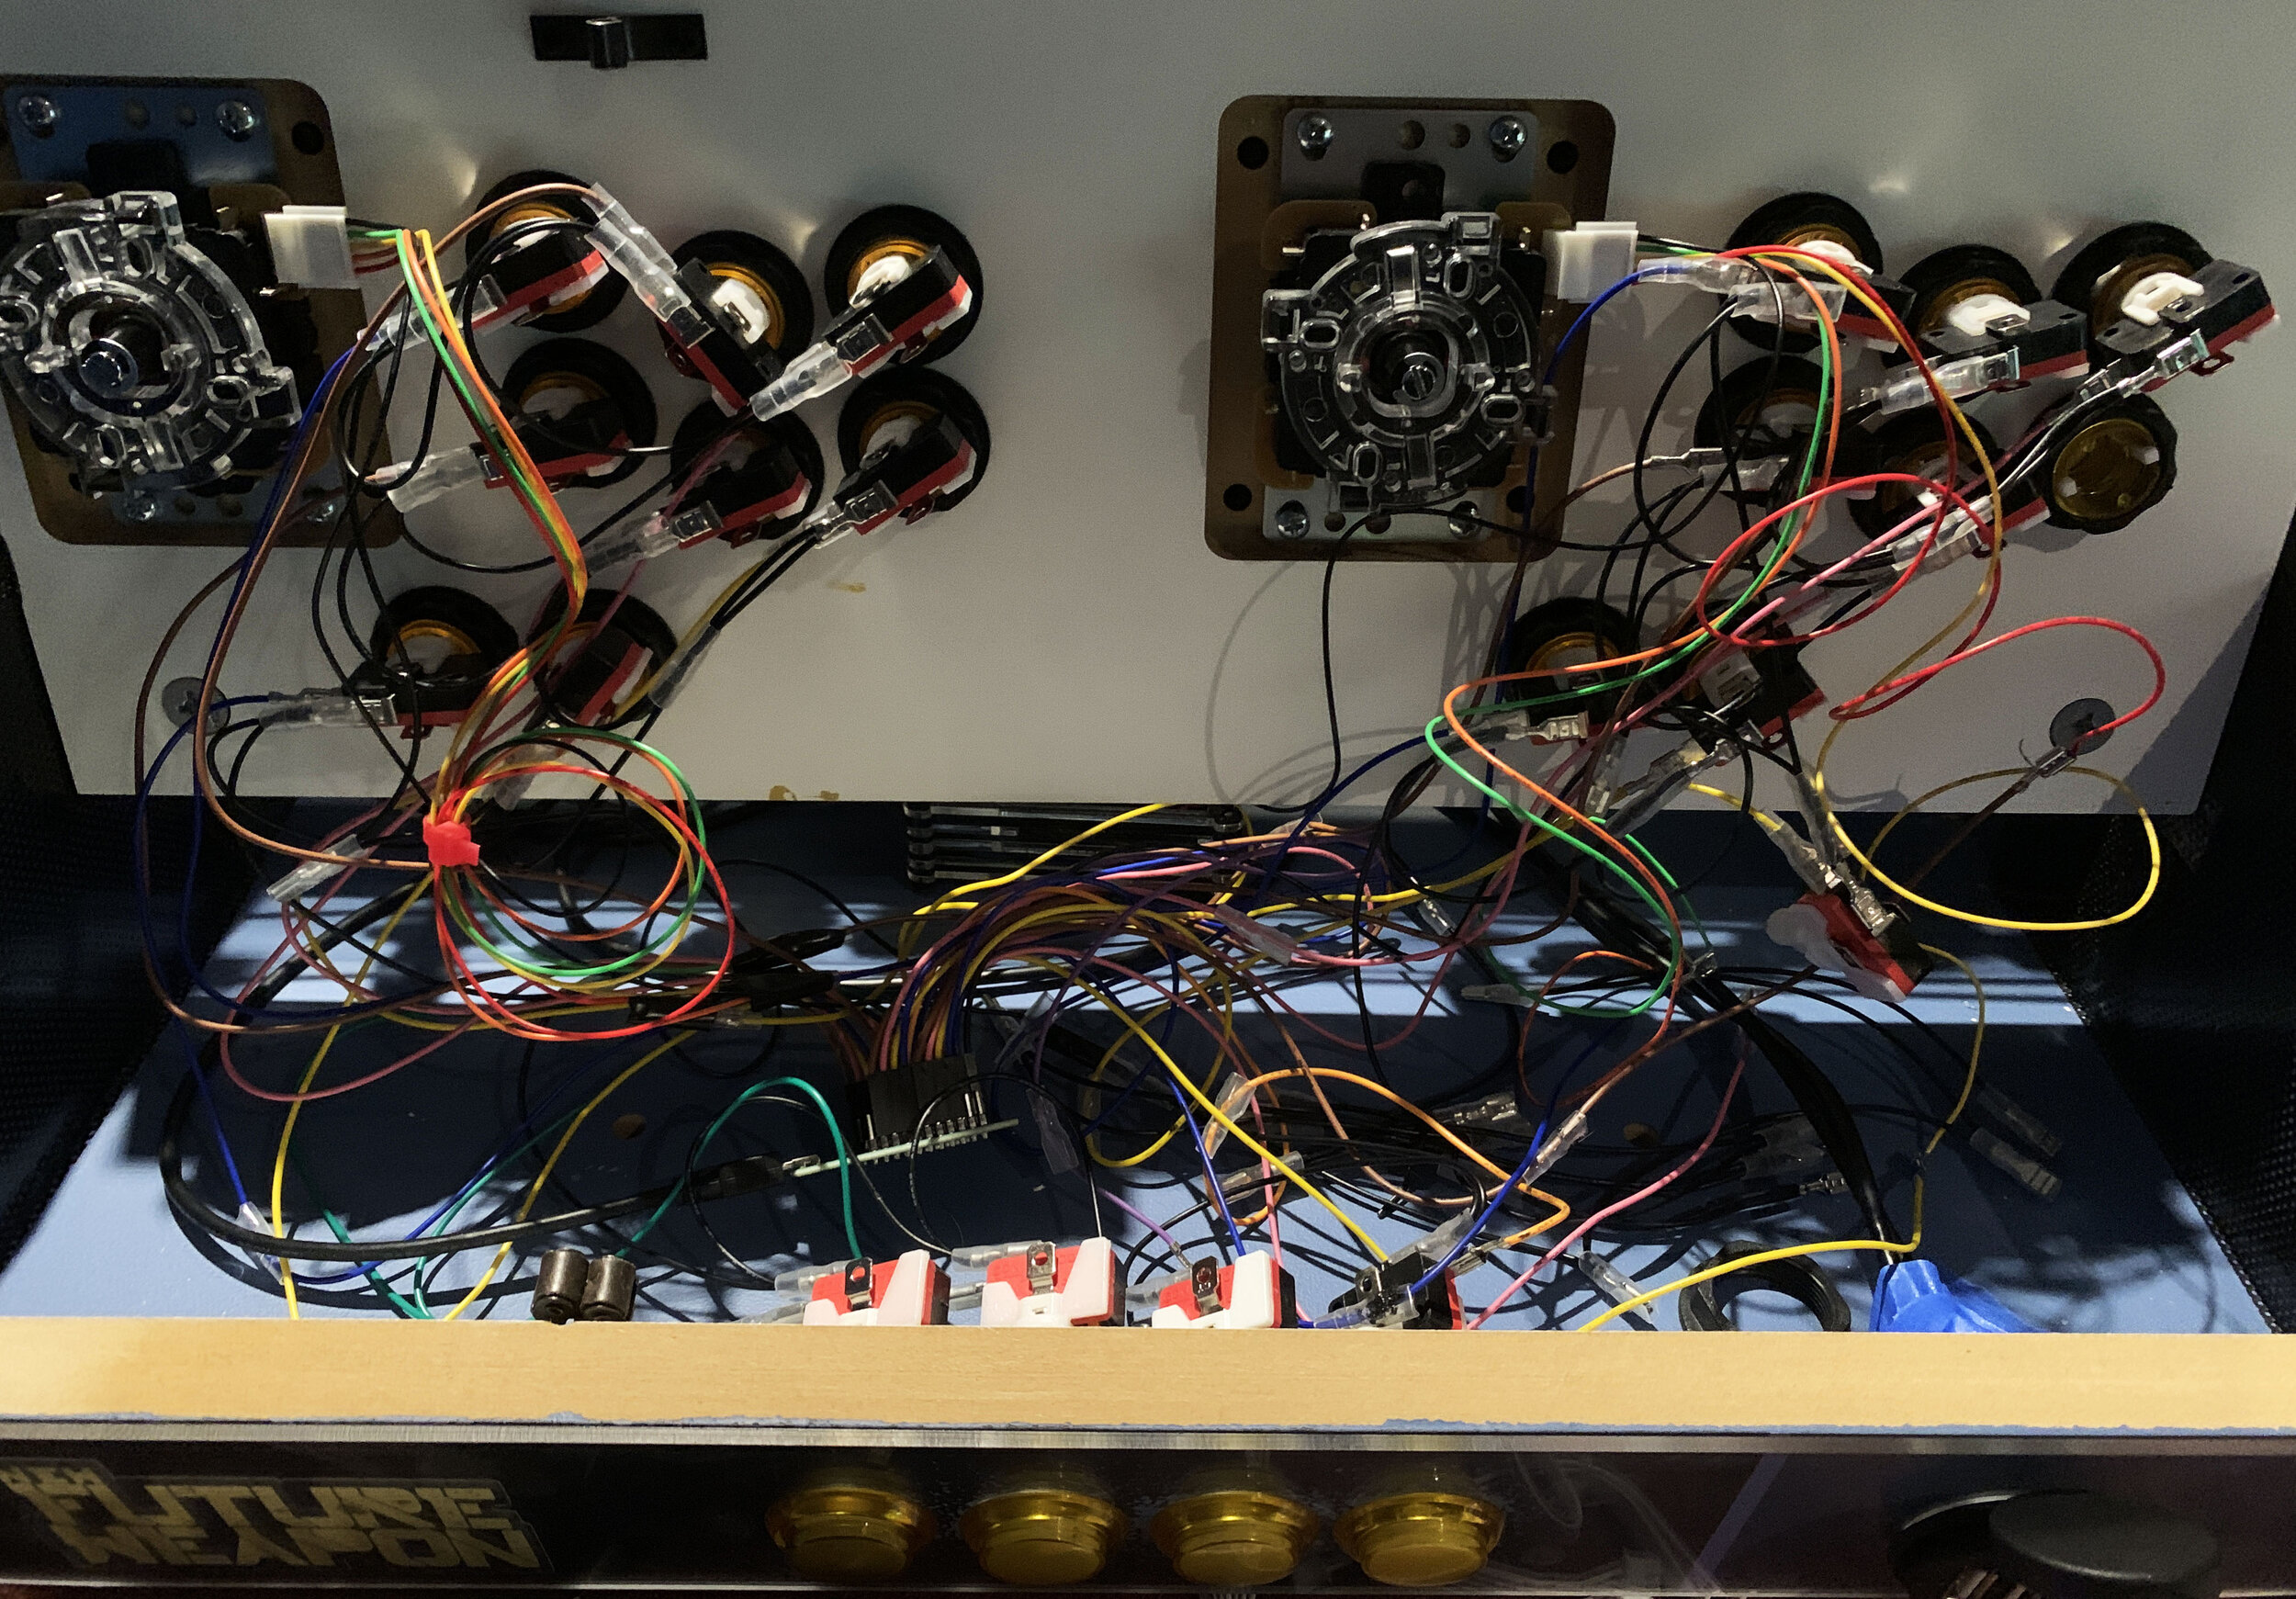
THE REAL HARD PART
And while we thought the build was difficult, it was nothing compared to hooking up the buttons. A single error resulted in completely dismantling the web of strung together buttons. Once I was done with the buttons, I ran into a separate issue where Raspberry Pi was unable to register my P2 controls correctly and that they were flipped. Turns out the joystick was angled the wrong way (which honestly feels like it shouldn’t be an issue since they are programmatically mapped anyway) but I had to disassemble and reassemble the wiring all over again (3rd time!) But once we got the wiring working, it felt like all the effort paid off!
BLESSED BE OVERACHIEVERS EVERYWHERE
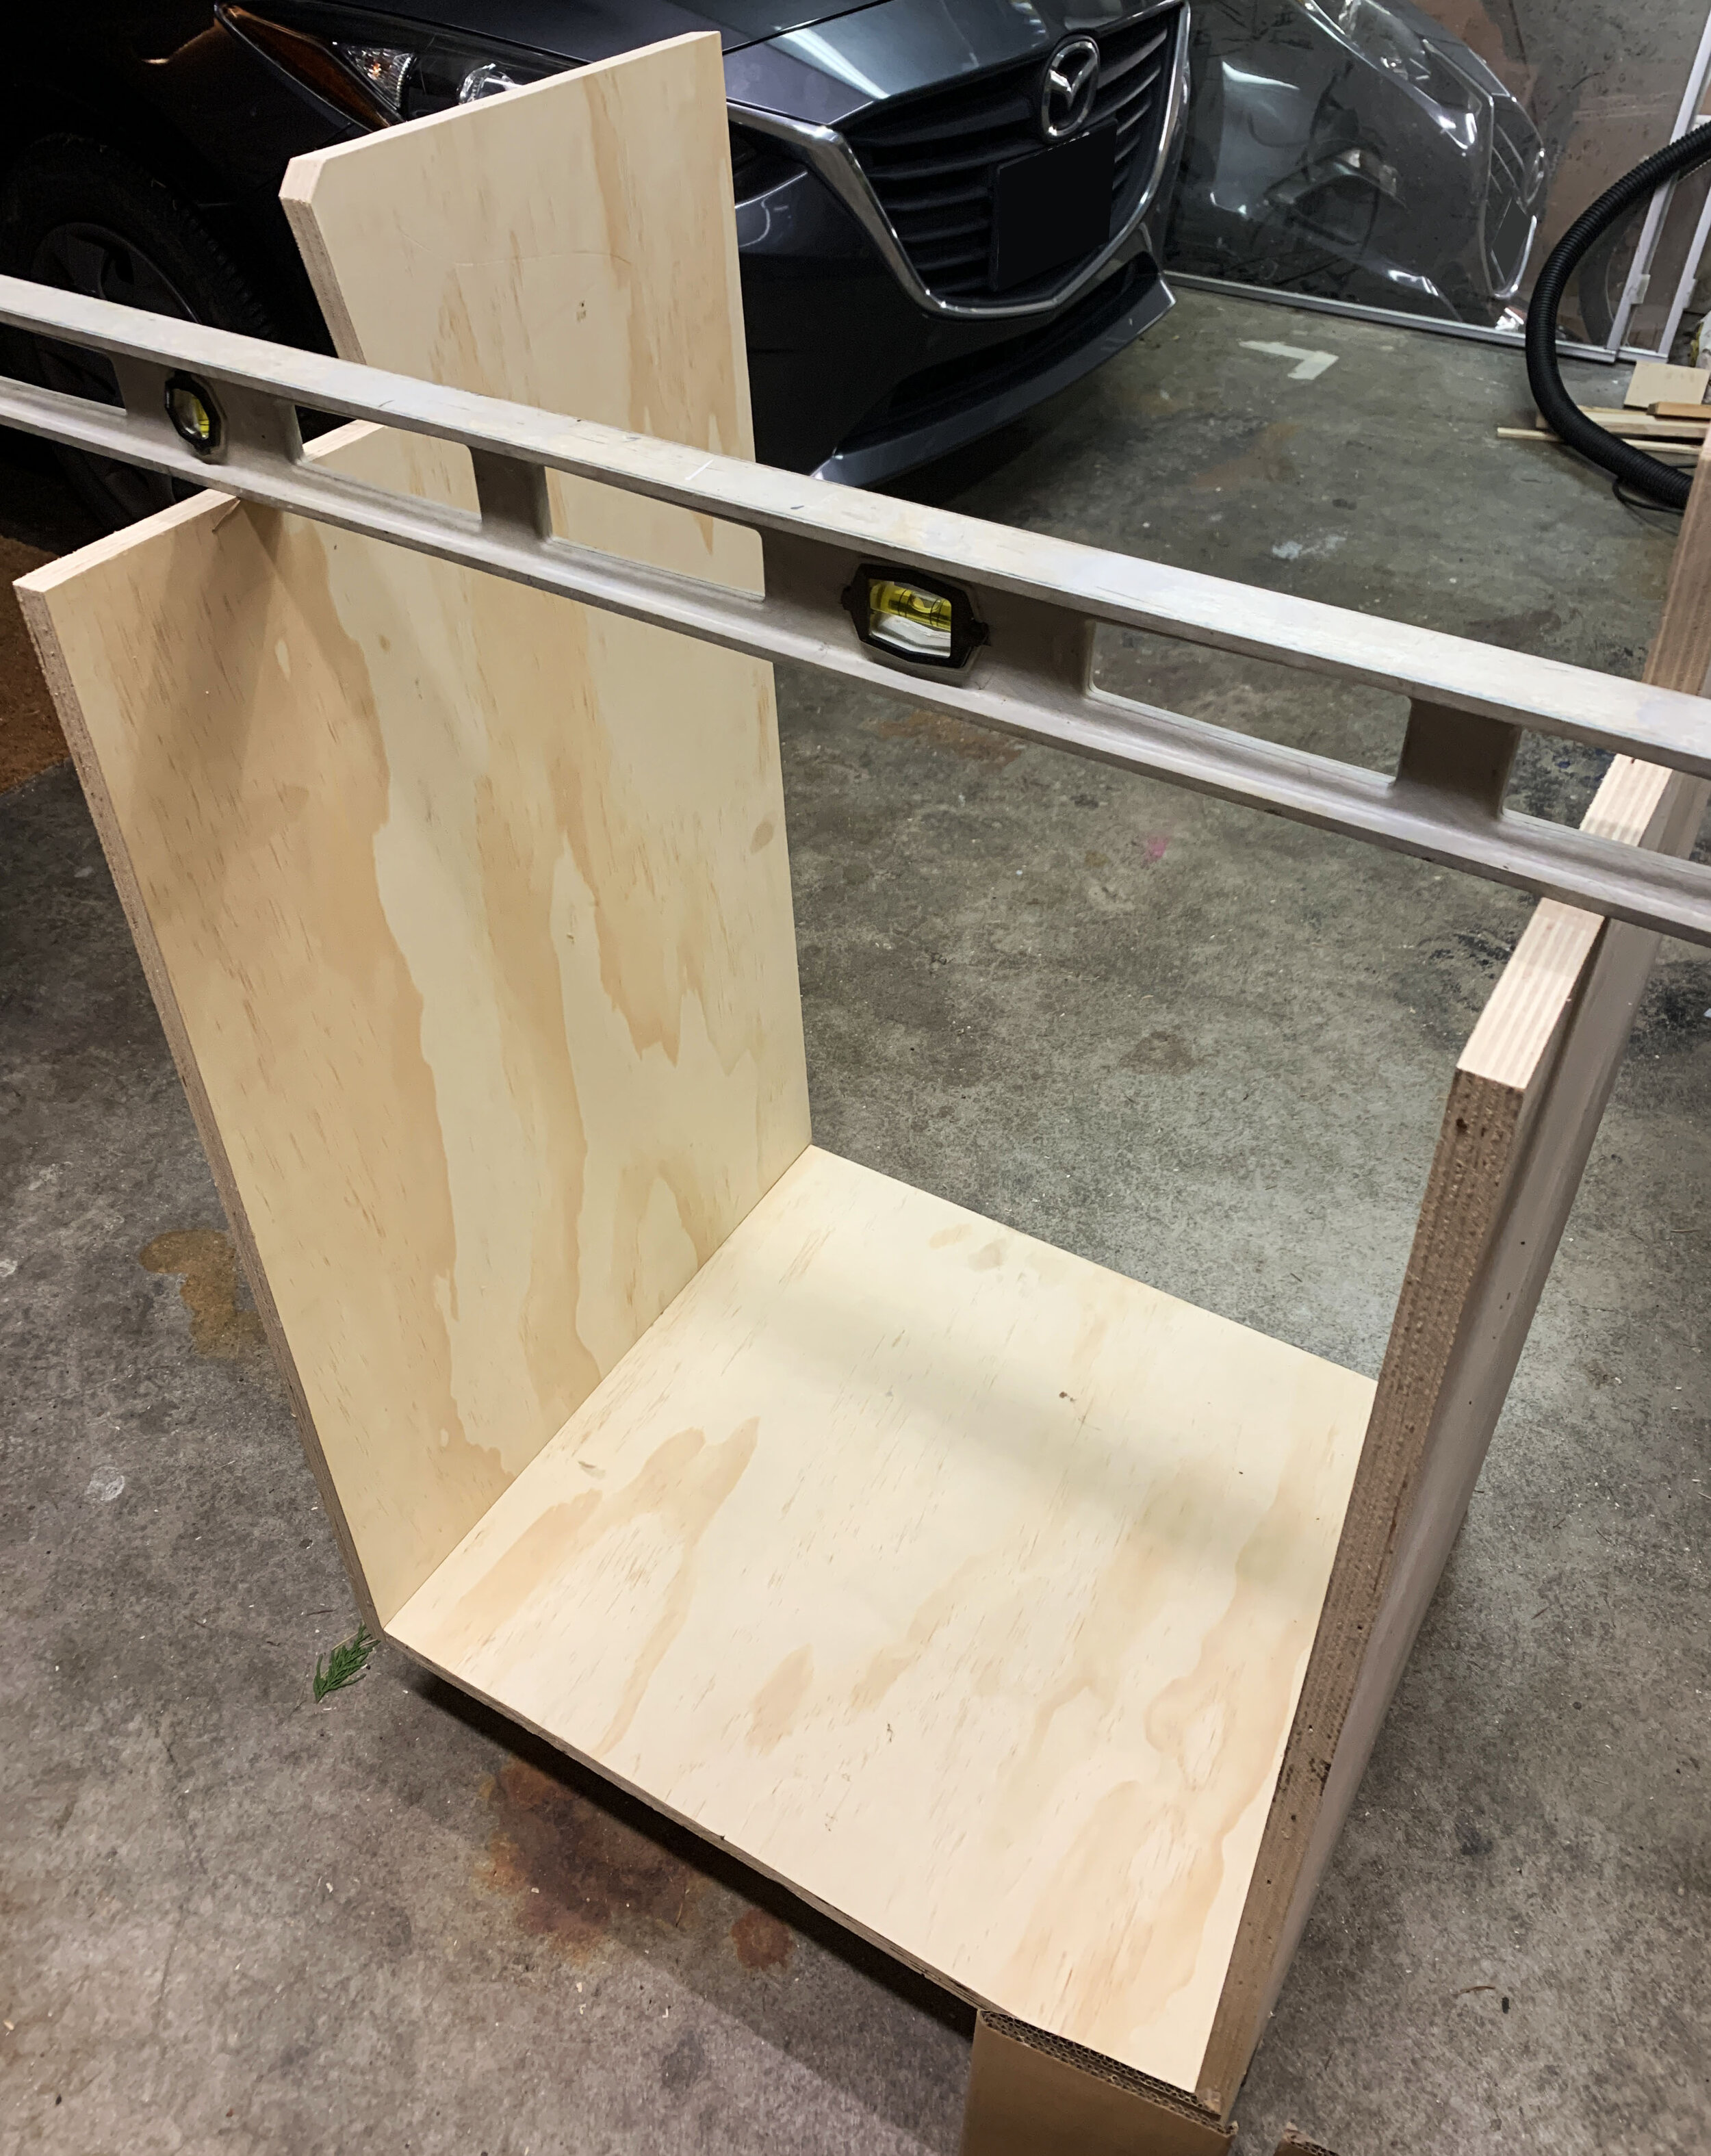
While Fernando was done at this point, I knew I really wanted the full size arcade cabinet, so I took measurements and began creating a plan to build one from scratch. I’ve learned a lot about the process of wood working from home remodeling projects, but I’ve never actually built anything freestanding before. The thing here is that I couldn’t make a simple box, because I wanted the cabinet to be able to hold a stool for longer arcade sessions. This meant I had two measurements: the base that the bartop arcade would sit on and the of the cabinet that the stool fits into. I ended up coming up with a slanted design that happens to also mimic the slant of the arcade itself. I also added wings to the sides to ensure stability for the bartop arcade. Once we fitted the frame together and checked that it was level (it was!), I started sketching out the design I’d paint on it.
FINAL TOUCHES
I wanted it to really echo the design of the bartop so they feel like a single unit. The only problem was that the dark blue that I used was a color that I mixed from scratch and I had none left. But if there’s one thing I’m good at, it’s mixing paint colors. I was able to use some of the light blue from Home Depot and mix it with other random paints I had around the garage to get a perfect match. I only had maybe a cup of this paint so to make sure it would go as far as possible, instead of painting the cabinet, I painted MDF instead that I could use as decor to give the base some 3-dimensionality.
In the end, it turned out absolutely PERFECT. I can’t say I ever want to build something like this again, but the experience is rewarding and I love seeing it in my den!
